


Easy to Follow Step-by-step Key fob remote Programming Instructions
2019 Chevrolet Traverse
We strive to provide convenience to our customers with free keyless entry remote fob programming instructions for every single vehicle that we sell on NorthCoast Keyless.
Many people don’t know that they can purchase their own replacement vehicle entry remote, save up to 70% off of marked up Dealership prices, and program the replacement remote to their vehicle themselves. We know how good it feels to save money and do something yourself; and we aim to make it as painless as possible for you!
Free Key Fob Remote Programming Instructions for a 2019 Chevrolet Traverse
Time needed: 10 minutes.
![]()
SMART PROXIMITY KEY FOB REMOTE - WITH TWO PROGRAMMED REMOTESStep-By-Step How To Programming Instructions
- Place Programmed Smart Keys
PLACE the 2 programmed smart keys in the cupholder.
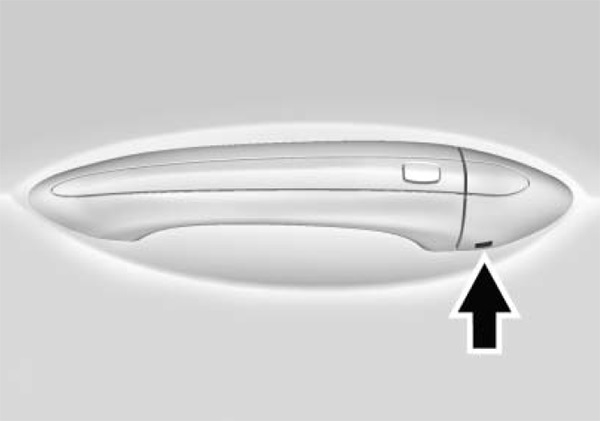
- Access Key Lock Cylinder
REMOVE the key lock cylinder cap (located on the outside of the Driver’s door to the right of the door handle).
Removing the Key Lock Cylinder Cover:
a. Insert the door key into the slot on the bottom of the cover.
b. Lift the key upward to remove the cover.
- Enter Programming Mode
INSERT the CUT emergency key of the NEW smart key fob into the key lock cylinder AND TURN the key counterclockwise to the UNLOCK position 5 times within 10 seconds. The Driver Information Console (DIC) will display “READY FOR REMOTE #3, 4, or 5.”
- Program Remote – Step 1
REMOVE the top tray and the rubber mat inside of the center console storage area. PLACE the new smart key into the Transmitter Pocket (refer to Owner’s Manual for location).
- Program Remote – Step 2
PRESS the ENGINE START/STOP button. When the smart key is learned, the DIC will display “READY for REMOTE #N.”
- Program Remote – Step 3
REMOVE the smart key fob from the Transmitter Pocket and PRESS the LOCK or UNLOCK button to finalize programming of the remote.
- Program Additional Remotes
REPEAT Steps 4-6 to program any additional smart key transmitters.
- Exit Programming Mode
WHEN all additional smart key transmitters have been programmed, PRESS and HOLD the ENGINE START/STOP button for 12 seconds to EXIT Programming Mode.
- Test Remotes
TEST all remotes. Programming is complete.
- Share
If these programming instructions helped save you time and money, please consider sharing our website with friends and family so they can do the same.
Time needed: 30 minutes.
![]()
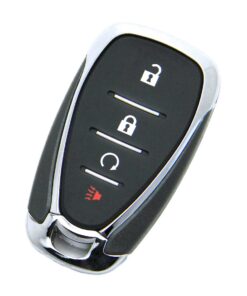
SMART PROXIMITY KEY FOB REMOTE - WITHOUT PROGRAMMED REMOTEStep-By-Step How To Programming Instructions
- Access Key Lock Cylinder
REMOVE the key lock cylinder cap (located on the outside of the Driver’s door to the right of the door handle).
Removing the Key Lock Cylinder Cover:
a. Insert the door key into the slot on the bottom of the cover.
b. Lift the key upward to remove the cover. - Enter Programming Mode – Step 1
INSERT the CUT emergency key of the NEW smart key fob into the key lock cylinder AND TURN the key counterclockwise to the UNLOCK position 5 times within 10 seconds. The Driver Information Console (DIC) will display “REMOTE LEARN PENDING, PLEASE WAIT.”
- Enter Programming Mode – Step 2
WAIT 10 minutes until the DIC displays “PRESS START BUTTON TO LEARN.”
- Enter Programming Mode – Step 3
PRESS the ENGINE START/STOP button. The DIC will again say “REMOTE LEARN PENDING, PLEASE WAIT.”
- Enter Programming Mode – Step 4
WAIT 10 minutes until the DIC displays “PRESS ENGINE START BUTTON TO LEARN.”
- Enter Programming Mode – Step 5
PRESS the ENGINE START/STOP button. The DIC will again say “REMOTE LEARN PENDING, PLEASE WAIT.”
- Enter Programming Mode – Step 6
WAIT 10 minutes until the DIC displays “PRESS ENGINE START BUTTON TO LEARN.”
- Enter Programming Mode – Step 7
PRESS the ENGINE START/STOP button. The DIC will again say “READY FOR REMOTE #1.”
- Program Remote – Step 1
REMOVE the top tray and the rubber mat inside of the center console storage area. PLACE the new smart key into the Transmitter Pocket (refer to Owner’s Manual for location).
- Program Remote – Step 2
PRESS the ENGINE START/STOP button. When the smart key is learned, the DIC will display “READY for REMOTE #N.”
- Program Remote – Step 3
REMOVE the smart key fob from the Transmitter Pocket and PRESS the LOCK or UNLOCK button to finalize programming of the remote.
- Program Additional Remotes
REPEAT Steps 9-11 to program any additional smart key transmitters.
- Exit Programming Mode
WHEN all additional smart key transmitters have been programmed, PRESS and HOLD the ENGINE START/STOP button for 12 seconds to EXIT Programming Mode.
- Test Remotes
TEST all remotes. Programming is complete.
- Share
If these programming instructions helped save you time and money, please consider sharing our website with friends and family so they can do the same.
Programming Notes:
- Verify the following prior to following these instructions:
- Your vehicle is equipped with keyless entry, and
- You have a key fob remote that is compatible with your vehicle.
- Obtain ALL remote transmitters for this vehicle.
- Have the emergency key on the new remote cut in preparation for the programming procedure.
If you have any difficulties with programming your vehicles, contact us at [email protected].
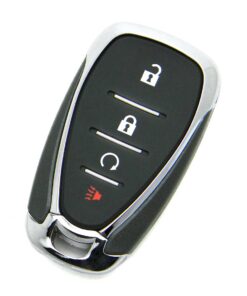
Key fob remotes
2019 Chevrolet Traverse
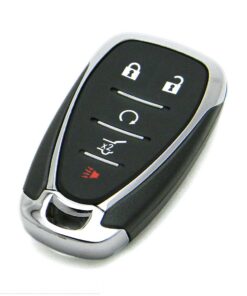
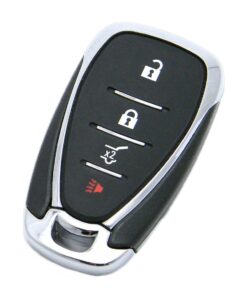
Chevrolet
Price range: $49.94 through $69.94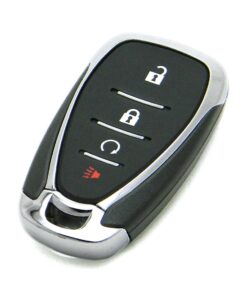
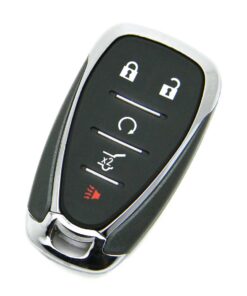
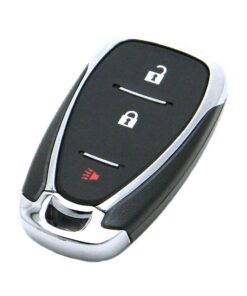
Chevrolet
2018-2021 Chevrolet Traverse 4-Button Smart Key Fob Remote (FCC: HYQ4EA, P/N: 13585728, 13529638)
Price range: $59.94 through $69.94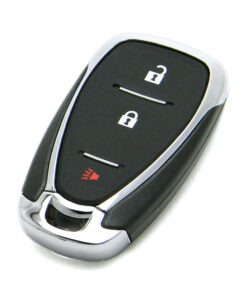
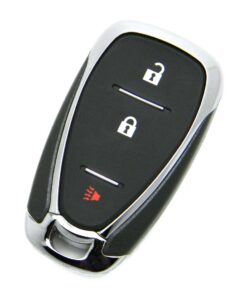
Chevrolet
Price range: $39.94 through $59.94

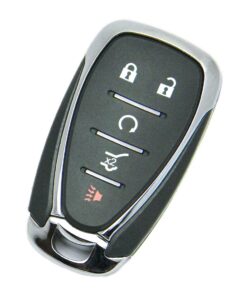
Chevrolet
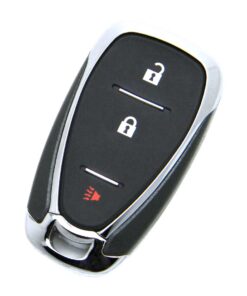
2019-2023 Chevrolet Traverse 4-Button Smart Key Fob Remote (FCC: HYQ4ES, P/N: 13530712)
Price range: $59.94 through $79.94


Chevrolet
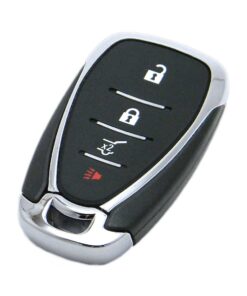
2018-2020 Chevrolet Traverse 4-Button Smart Key Fob Remote (FCC: HYQ4EA, P/N: 13585720, 13529648)
Price range: $59.94 through $79.94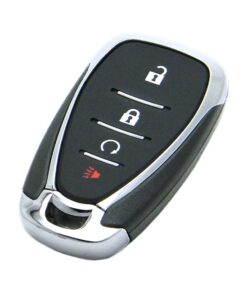

MONEY BACK GUARANTEE
We offer a No Questions Asked Money Back Guarantee on all of our products!If you can’t get it to work for your vehicle–reach out!We’ll get you your money back.
FAST & FREE SHIPPING
ALWAYS! First Class USPS shipping is always shipped for free for all Domestic (US) customers in less than ONE business day. No ifs, ands, or buts!

CUSTOMER SUPPORT
Have a question for us? Reach out! We're here for you. We will work with you to solve your issue rather than just having you return an item without a solution like some of the big box online stores do.
SAVE 70% OVER DEALERSHIPS
We’ve worked hard to create a network of reliable and reasonably priced suppliers that allow us to give you rock bottom prices.You're also not paying for huge fancy offices or sports cars for our Owners. We always will be just regular people tryin’ to make a livin’ not a killin’!
NorthCoast Keyless Free Programming Instructions Disclaimer:
- We worked hard to provide these instructions to our customers. We checked multiple sources to ensure that this information is complete and accurate. However, please understand that we cannot be held liable for any loss due to incorrect use of the programming instructions from www.northcoastkeyless.com.
- If you cannot program your remote with the instructions that we provide or encounter any discrepancies, please contact us at [email protected] and we’ll make sure that you’re taken care of.