


Easy to Follow Step-by-step Key fob remote Programming Instructions
2011 Chevrolet Malibu
We strive to provide convenience to our customers with free keyless entry remote fob programming instructions for every single vehicle that we sell on NorthCoast Keyless.
Many people don’t know that they can purchase their own replacement vehicle entry remote, save up to 70% off of marked up Dealership prices, and program the replacement remote to their vehicle themselves. We know how good it feels to save money and do something yourself; and we aim to make it as painless as possible for you!
Free Key Fob Remote Programming Instructions for a 2011 Chevrolet Malibu
SORRY, THERE ARE NO KEYLESS ENTRY REMOTE SELF-PROGRAMMING INSTRUCTIONS FOR THIS VEHICLE.
- The Manufacturer decided to not produce this vehicle with self-programming capabilities.
- You must get an Automotive Locksmith to program the remote to your vehicle for you.
- If your vehicle requires professional programming we tell you, so you’re not left with any doubt and searching all over the internet.
- It’s still much cheaper to purchase a remote from NorthCoast Keyless and get it programmed by a Locksmith rather than buying from a Dealership!
- We strongly recommend calling a Local Auto Locksmith for help here.
- Find a Local Automotive Locksmith instantly by using our search tool below:
Find a Local Auto Locksmith
For best results, just search "auto locksmith [YOUR ZIPCODE]" OR "auto locksmith near me"
Time needed: 3 minutes.
![]()
TRANSPONDER KEYStep-By-Step How To Programming Instructions
- Enter Programming Mode – Step 1
ENTER the vehicle and CLOSE the Driver’s door.
- Enter Programming Mode – Step 2
INSERT working Transponder Key into Ignition and TURN to the ‘ON’ position (just prior to cranking engine), WAIT 1 second and TURN back to the OFF position to successfully enter Programming Mode.
REMOVE key from Ignition. - Program Transponder Key
INSERT NEW key into Ignition and TURN to the ‘ON’ position (just prior to cranking engine).
The key is now programmed to your vehicle. - Test Transponder Key
TEST the new Transponder Key. Programming is now complete.
- Program Additional Transponder Keys
To program additional Transponder Keys, simply repeat the procedure.
- Share
If these programming instructions helped save you time and money, please consider sharing our website with friends and family so they can do the same.
Programming Notes:
- Verify the following prior to following these instructions:
- You have a transponder key that is compatible with your vehicle.
- You MUST have 1 working transponder key in order for this procedure to work for your vehicle.
- If you DO NOT have 1 working transponder key, you MUST have the key programmed to your vehicle by a professional.
If you have any difficulties with programming your vehicles, contact us at [email protected].
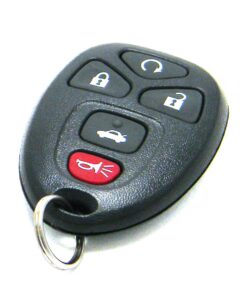
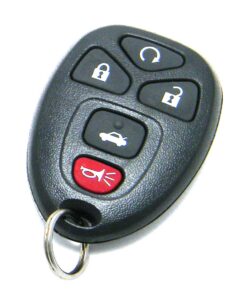
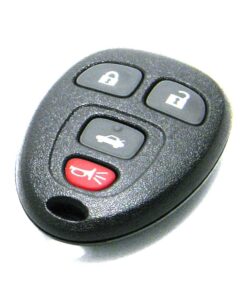
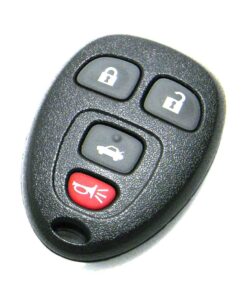
Key fob remotes
2011 Chevrolet Malibu

MONEY BACK GUARANTEE
We offer a No Questions Asked Money Back Guarantee on all of our products!If you can’t get it to work for your vehicle–reach out!We’ll get you your money back.
FAST & FREE SHIPPING
ALWAYS! First Class USPS shipping is always shipped for free for all Domestic (US) customers in less than ONE business day. No ifs, ands, or buts!

CUSTOMER SUPPORT
Have a question for us? Reach out! We're here for you. We will work with you to solve your issue rather than just having you return an item without a solution like some of the big box online stores do.
SAVE 70% OVER DEALERSHIPS
We’ve worked hard to create a network of reliable and reasonably priced suppliers that allow us to give you rock bottom prices.You're also not paying for huge fancy offices or sports cars for our Owners. We always will be just regular people tryin’ to make a livin’ not a killin’!
NorthCoast Keyless Free Programming Instructions Disclaimer:
- We worked hard to provide these instructions to our customers. We checked multiple sources to ensure that this information is complete and accurate. However, please understand that we cannot be held liable for any loss due to incorrect use of the programming instructions from www.northcoastkeyless.com.
- If you cannot program your remote with the instructions that we provide or encounter any discrepancies, please contact us at [email protected] and we’ll make sure that you’re taken care of.
It worked!
I just bought a new fob due to a broken key holder (holds the cut metal “shaft” portion in). I was able remove the new uncut shaft and transfer the old cut shaft into the new fob by taking it all apart and tapping the set pin out that was holding the shaft in place. Be very careful as the shaft holder is light metal. I removed the uncut shaft and inserted the old cut key shaft in the new fob and replaced the set pin. Put it all back together and used the owners manual page 2-5 (I think) programming new key. Fortunately I had a spare working key and fob.
Procedure: You put a working key in ignition and turn to the on position (don’t start the car) shut off and take it back out; immediately put the new key in and turn to on position without starting the car. Watch the dash, the warning lights will change when programming is complete (sorry I forget exactly which light, I think it was the seatbelt light went solid red when completed). Take the new key out and try it.
Total cost $25 for the new fob from Amazon. Good luck!
Bought a keyless entry key fob (2-pack) for my 2011 Chevrolet Malibu about 5 years ago and was able to program them myself without any issues. Came online now (5 years later) to remind myself how I programmed it before and everything is saying “dealer or locksmith required”, which I know from personal experience is BS. So, did some tinkering and figured it out. Get in car with key and keyless fob, close all doors, insert key into ignition and turn to On position without starting car (radio/lights will be on), now hold down both lock and unlock buttons on keyless fob until the horn honks twice, then release the keyless fob buttons and turn the key the rest of the way to start the car. You should hear the horn honk twice again and that’s it, programming complete. Hope it’s as easy for you as it was for me! Not sure if they eliminated the self program feature from the newer key fobs or what, but definitely don’t need a dealer or tools for the older ones.
Wanting to know how to program a keyless entry fob not a key fob.